


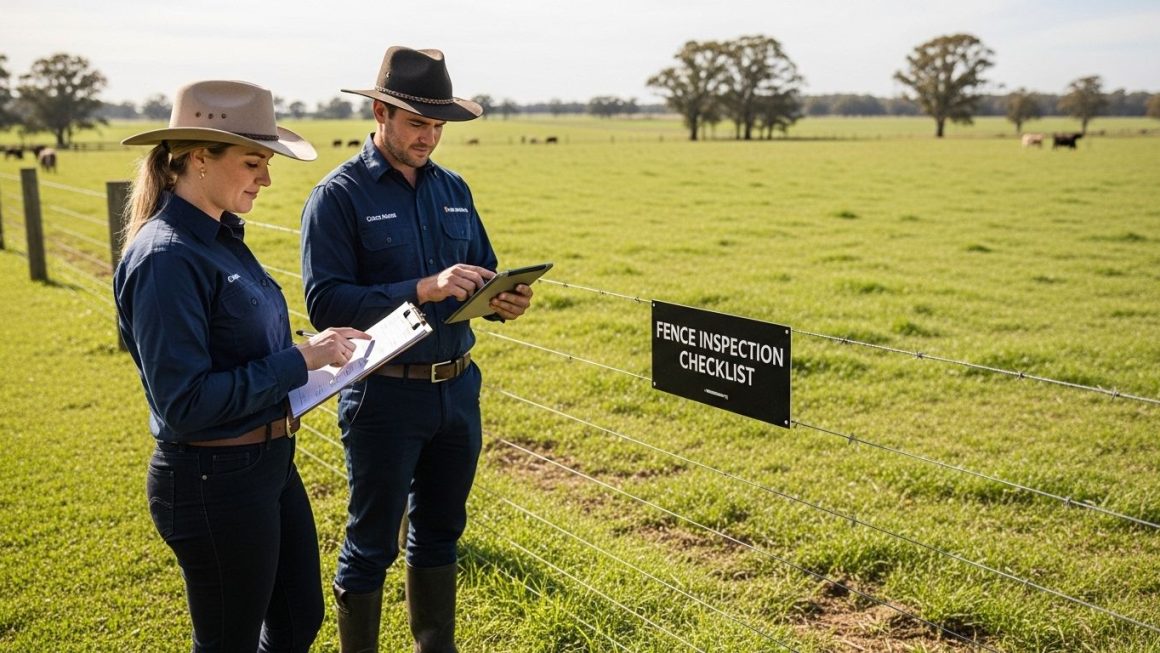
An electric fence is not a “set-and-forget” installation. Day after day, your perimeter is exposed to harsh elements: scorching ultraviolet sunlight, heavy downpours, seasonal temperature swings, wind-blown dust, and encroaching vegetation. Over time, these environmental pressures can cause wires to sag, insulators to crack, vegetation to creep against live strands, and backup batteries to degrade.
Establishing a consistent maintenance routine ensures your perimeter remains a formidable security barrier and prevents frustrating nuisance alarms or sudden system failures in the middle of the night. Below is a comprehensive, practical maintenance checklist covering weekly checks, seasonal inspections, and preventative care for both residential and agricultural electric fences.
The Electric Fence Maintenance Schedule
To keep your system operating at peak voltage (7,000V to 9,500V), structure your maintenance into four manageable timeframes:
| Frequency | Primary Maintenance Tasks | Why It Matters |
| Weekly / Bi-Weekly | Quick walk-around, visual check of indicator lights, check app/keypad status. | Catches obvious faults (broken wires or tripped zones) immediately. |
| Monthly | Vegetation trimming, testing gate contacts, checking backup battery voltage. | Stops creeping weeds before they drain voltage and cause false alarms. |
| Quarterly | Digital voltmeter testing along fence lines, checking earth stake connections. | Verifies consistent shock delivery and grounding efficiency across all zones. |
| Annually | Deep battery health test, cleaning solar panels, inspecting lightning arrestors. | Extends equipment lifespan and prepares the system for harsh weather seasons. |
The Complete Electric Fence Maintenance Checklist
Work through these six core areas during your quarterly and seasonal inspections to keep your system in top condition:
1. Vegetation Management (The Number-One Threat)
Plants and weeds are the most common cause of electric fence voltage drop. When wet grass, climbing vines, or overhanging tree branches touch a live wire, they create a continuous micro-leak to the ground, draining joules from the pulse and dragging fence voltage down.
- Clear a Buffer Zone: Maintain a clear, vegetation-free corridor of at least 30 to 50 centimeters around all live fence wires.
- Trim Overhanging Branches: Cut back tree limbs that could drop leaves or snap onto the fence during heavy windstorms.
- Apply Weed Killer or Stone Mulch: In stubborn areas beneath free-standing fences, applying a non-conductive weed killer or laying down crushed gravel prevents grass from growing up into the lower wire strands.
2. Wire Tension and Physical Alignment
Temperature changes cause metal wires to expand in the hot midday sun and contract at night. Over months, this thermal cycle can loosen wires or strain corner brackets.
- Check Wire Tension: Inspect all strands for sagging. Wires should be firm, straight, and properly spaced.
- Inspect Tension Springs: Verify that inline compression or extension springs are roughly half-compressed. If a spring is fully squashed or completely stretched out, adjust the ratchet tensioner.
- Check for Kinks or Rust: Look closely for rusted spots, kinks, or frayed strands—especially near coastal areas where salt spray accelerates corrosion. Replace damaged wire sections promptly using proper crimp sleeves.
3. Insulators and Bracket Inspection
Insulators prevent high-voltage pulses from leaking into support posts, walls, or metal brackets. A single cracked or carbon-tracked insulator can short out an entire zone.
- Look for UV Degradation and Cracks: Plastic and HDPE insulators degrade after years under intense sunlight. Check for hairline cracks, chips, or brittleness.
- Clean Dirty Insulators: Dust, industrial soot, spider webs, and coastal salt buildup collect on insulators and create a conductive film during morning dew. Wipe dirty insulators clean with a damp cloth.
- Check Bracket Anchors: Ensure wall-top brackets and precast mounting bolts remain rock-solid. Heavy winds and wire tension can wiggle rawl bolts loose over time.
4. Grounding (Earthing) System Maintenance
Your grounding system is the return pathway for the electrical circuit. If your earth bed fails, your fence cannot deliver an effective shock.
- Inspect Earth Clamps: Check brass or stainless-steel earth clamps for corrosion or looseness. Tighten any slack connections.
- Keep Earth Soil Moist: In dry seasons, water the soil around your ground rods periodically to maintain high soil conductivity.
- Perform an Earth Voltage Test: Use an electric fence digital voltmeter to check your earth stakes while shorting the fence line 100 meters away. A reading below 300V on the earth rod confirms your grounding bed is absorbing current efficiently.
5. Battery Backup and Solar Power System Health
Power outages and load-shedding test your system’s battery reserves. A failing battery will leave your perimeter unprotected within hours of a grid failure.
- Test 12V Backup Battery Voltage: Use a multimeter to check your standby battery. A fully charged healthy battery should read 12.6V to 13.8V while on charge. If voltage drops below 11.5V under load or fails to hold a charge during a simulated power outage, replace it (typically every 3 to 5 years).
- Clean Solar Panels: If you use a solar-powered energizer, wash dust, bird droppings, and grime off the solar panel glass surface with clean water and a soft cloth to restore full charging wattage.
- Check Solar Charge Controller: Verify that indicator lights show active charging when sunlight hits the panel.
6. Gates, Contacts, and Accessories
- Clean Gate Contacts: Spring-loaded brass or stainless-steel sliding gate contacts accumulate dirt, grease, and oxidation. Clean contact faces with fine sandpaper or a wire brush to ensure clean electrical transfer when gates close.
- Test Lightning Diverters: Inspect lightning chokes and diverters after severe thunderstorms to ensure surge components are intact and properly connected to their dedicated earth spike.
- Verify Warning Signs: Ensure yellow warning signs remain clearly visible, clean, and securely clamped to the fence line every 10 meters along public boundaries.
Troubleshooting Declining Voltage
If your routine inspection reveals that fence voltage has dropped below normal operating levels (under 6,000V), follow this systematic diagnostic approach to find the culprit:
- Isolate the Energizer: Disconnect the fence wires from the energizer’s output terminals. Measure the voltage directly across the terminals. If the energizer outputs normal voltage (8,000V+), the unit is healthy, and the fault lies out on the fence line.
- Perform the “Half-Way” Cut Test: On large perimeters, open your zone switches or disconnect sections of the fence halfway down the line. If voltage immediately jumps back up on the remaining section, you have located the half of the perimeter containing the short or fault.
- Walk the Line with a Fault Finder: Use a digital current-meter or fault finder along the fence wire. The device will point an arrow directly toward the direction of current leakage—guiding you straight to the fallen branch, cracked insulator, or tangled weed causing the drop.
